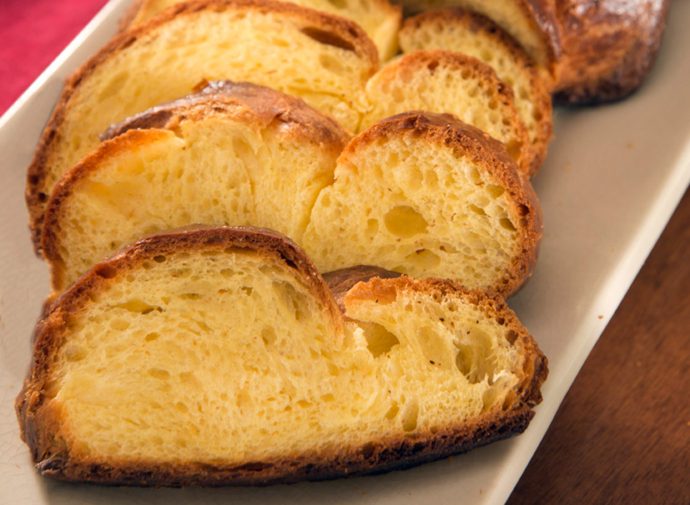
Kosher laws forbid serving dairy and meat in the same meal. Therefore, challah is traditionally made with margarine rather than with butter. Although beautiful in appearance—golden braids, studded with poppy seeds or sesame—challah tends to disappoint. Taste and texture are compromised in support of religious prohibitions.
I’ve been making this bread since I was a kid. Because separating milk and meat is not a priority in my kitchen, I make the bread with a brioche dough. I often hear my challah is the best of the best. Now you know my secret…it’s butter!
This recipe requires you begin preparations at least the morning of the day before you plan to serve your bread. For example, start at least Thursday morning if you want to serve your bread Friday night. Also, you cannot make this particular bread without a standing mixer fitted with a 5-quart mixing bowl, or larger, since at first the dough is too soft to knead by hand. The recipe I use is adapted from Rose Levy Beranbaum’s book The Bread Bible. Don’t be put off by the length of the instructions: this is a very easy bread to make and it freezes well. I usually make two large loaves at a time, one to freeze or give away. Stale, the challah makes fabulous French toast. Measure ingredients, especially the flour, by weight rather than volume; it is much easier and more accurate.
Ingredients
Sponge
4 tbl water, at room temperature
2 tbl sugar
½ tsp instant yeast
142 grams (1 cup) unbleached all-purpose flour
2 large eggs
Flour mixture
312 grams (2 cups + 3Tbl) unbleached all-purpose flour
25 grams (2 Tbl) sugar
8 grams (2½ tsp) yeast
7 grams (1 tsp) salt
Dough enrichment
4 large eggs, cold
10 oz unsalted butter, very soft
Glaze
¼ cup lightly beaten egg yolk
4 tsp water
Sesame seeds or poppy seeds (optional)
Instructions
Mixing the dough
36 hours or up to 2 days before serving the bread:
- Place the ingredients for the sponge in the bowl of a 5-quart mixer. Using a whisk attachment beat until very smooth. The sponge should have the consistency of a thick batter.
- In another bowl, combine the ingredients for the flour mixture. Whisk the flour with the sugar and the yeast. Whisk in the salt. This keeps the yeast from coming into direct contact with the salt, which would kill it.
- Sprinkle the flour mixture on top of the sponge. Cover the bowl tightly with plastic wrap and let stand for 2 hours. Eventually you will see the sponge mixture bubbling up through the flour mixture.
- Whisk eggs.
- Using the dough hook with the machine on low, add the eggs to the flour-sponge mixture, beating for about 1 minute, until the flour is moistened. Scrape the sides of the bowl with an oiled spatula and continue beating for another 5 minutes, until the dough is smooth and shiny but very soft and sticky.
- Divide the butter into 8 portions. It must be very soft. One at a time, add each portion, waiting until the last addition is almost completely absorbed before adding the next.
- Use an oiled spatula to scrape down the sides of the bowl. The dough will be very sticky at this point, but DO NOT add more flour. The dough will firm up after it chills. Cover the bowl with plastic wrap and let the dough rise until it doubles in bulk, 1 ½ to 2 hours.
- Gently deflate the dough and chill it overnight or longer.
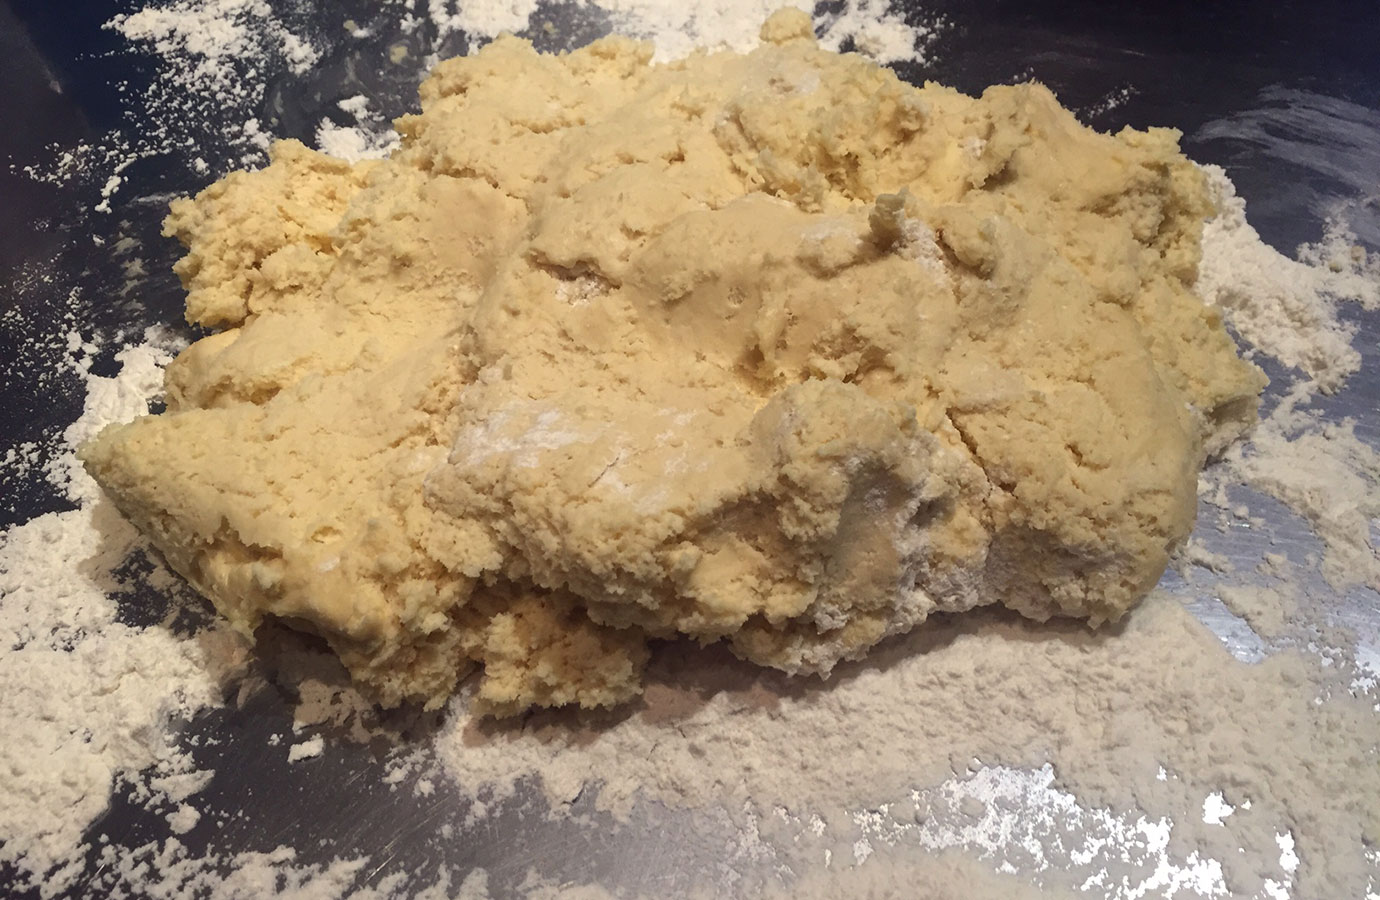
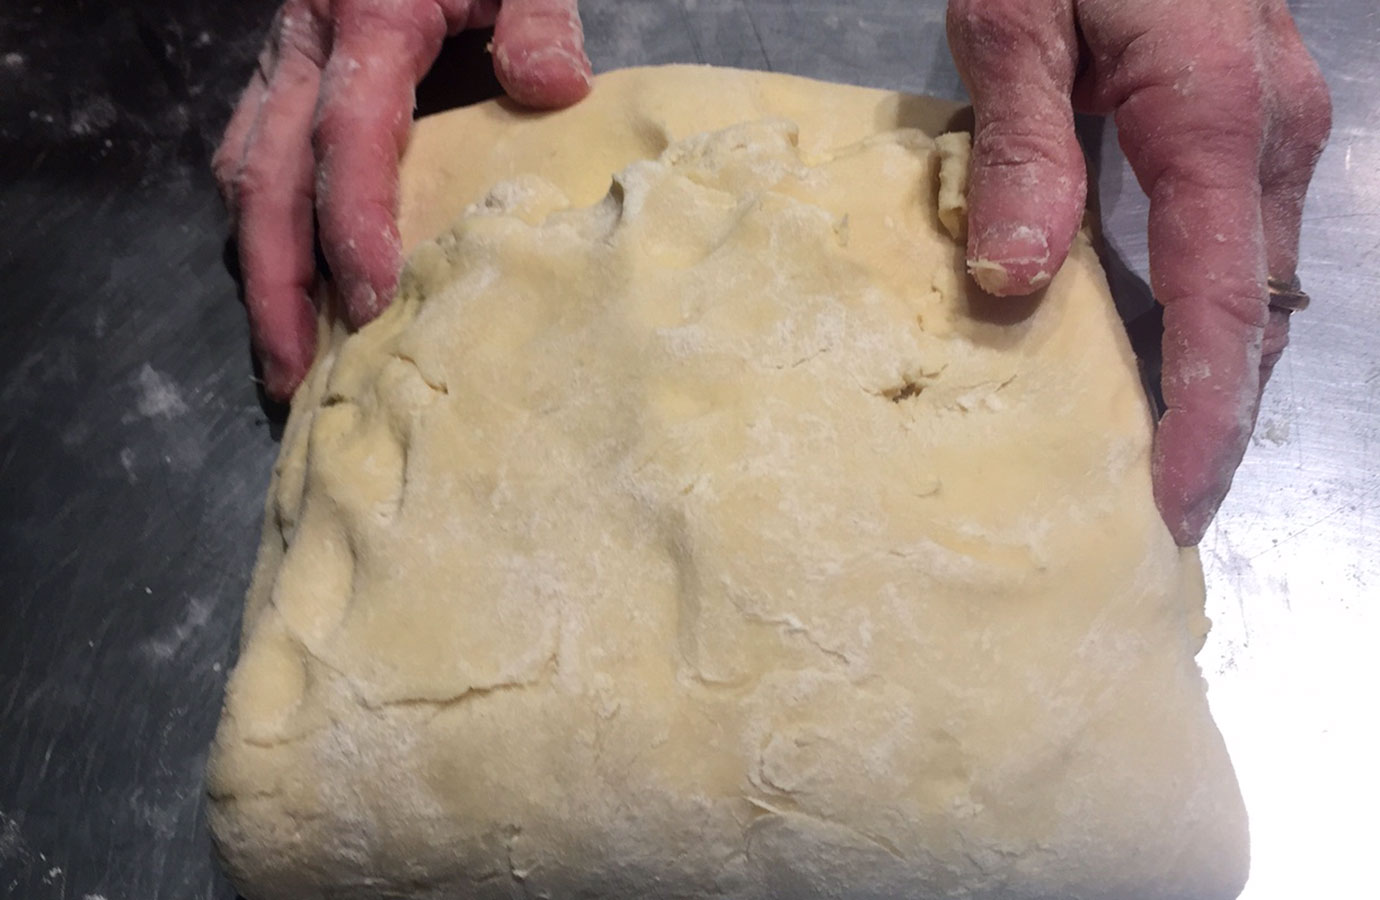
- The next day, in the morning, turn the dough onto a well-floured surface. The dough will be very sticky and look rough at this point.
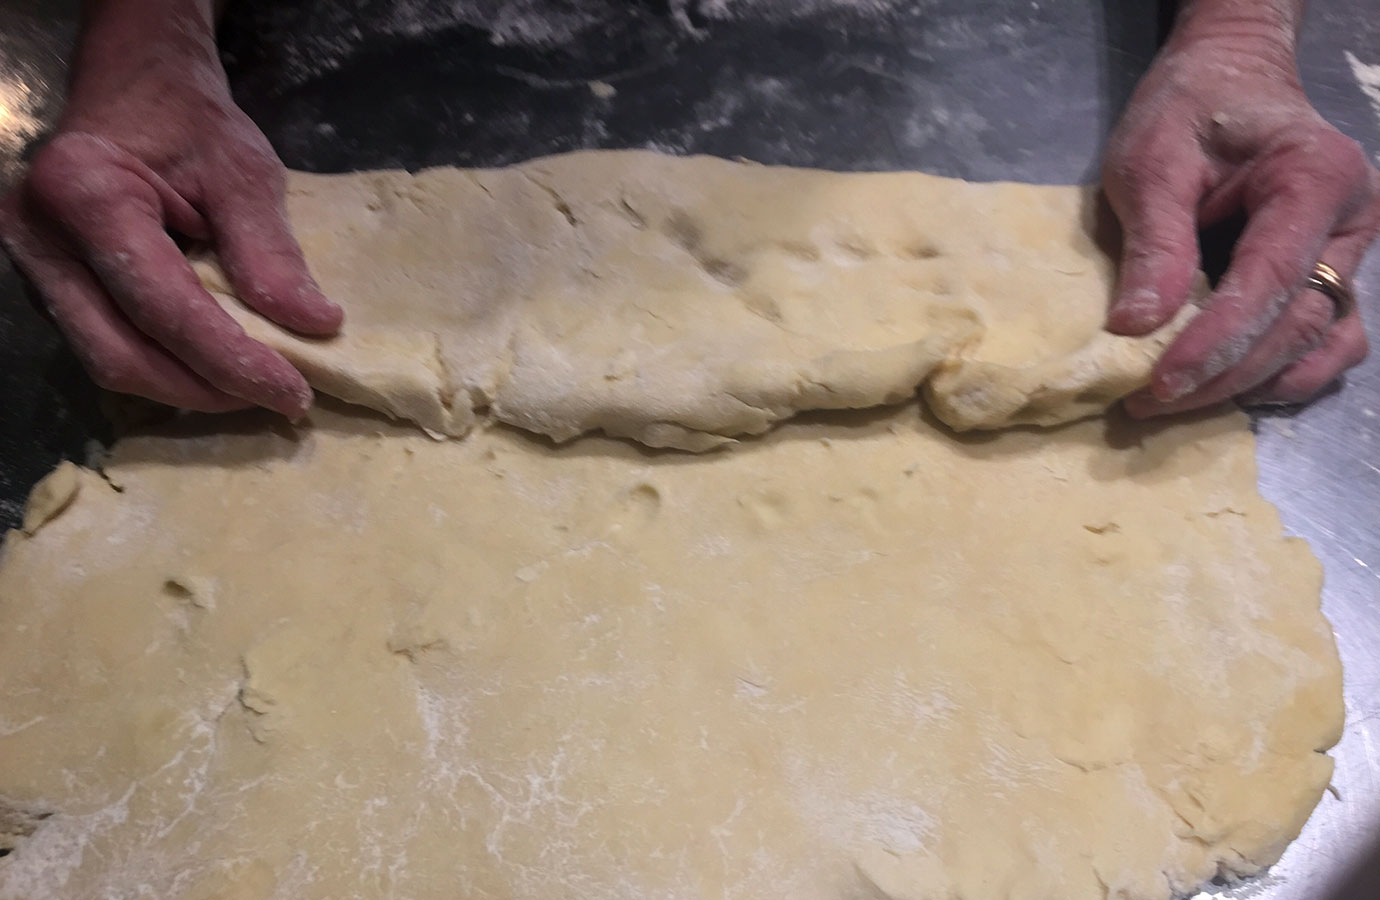
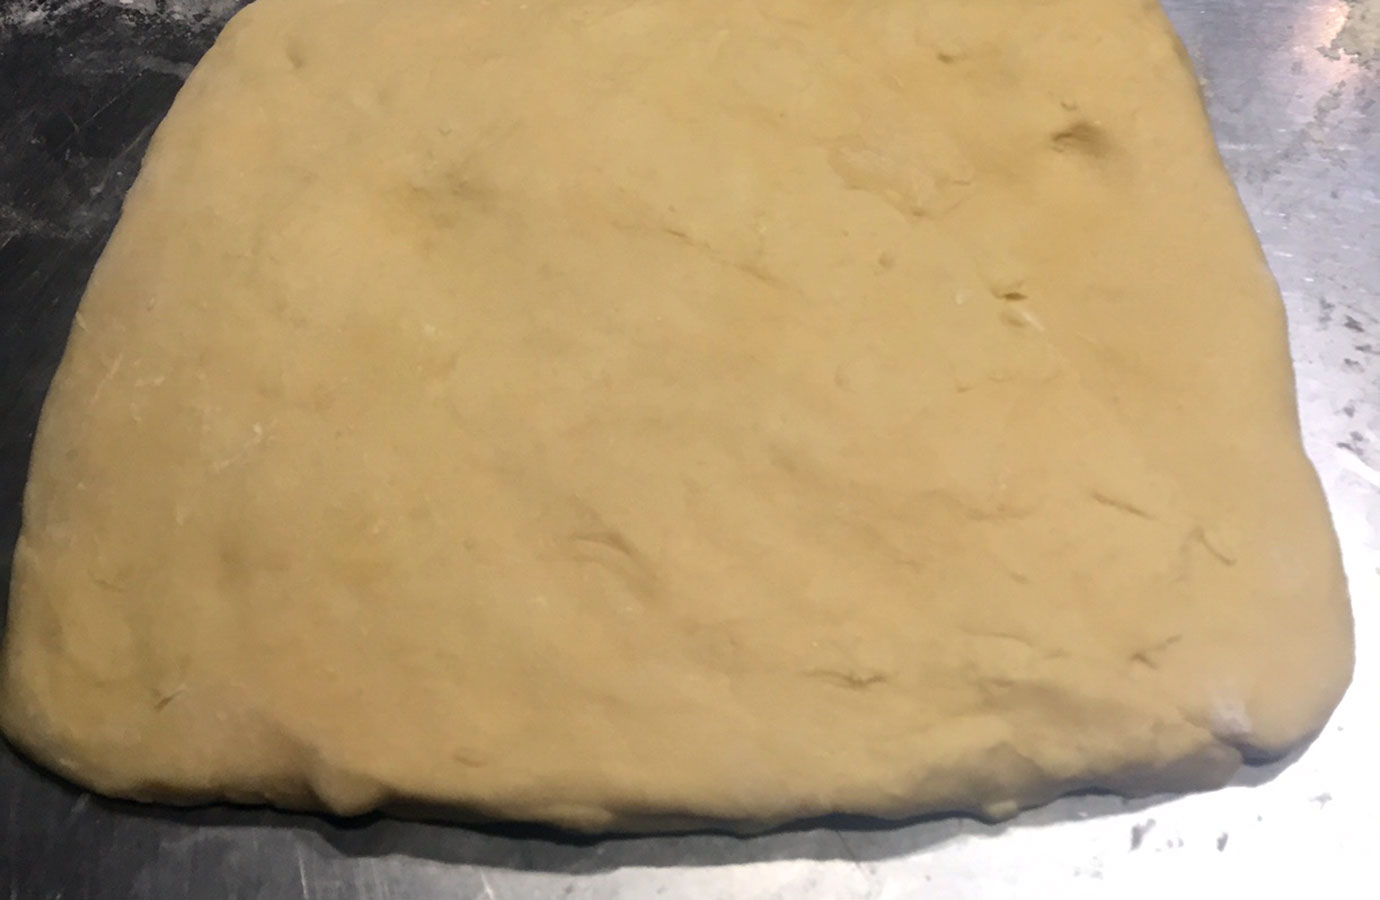
- Press or roll into a rectangle (size is not important), using as much flour as you need to keep the dough from sticking.

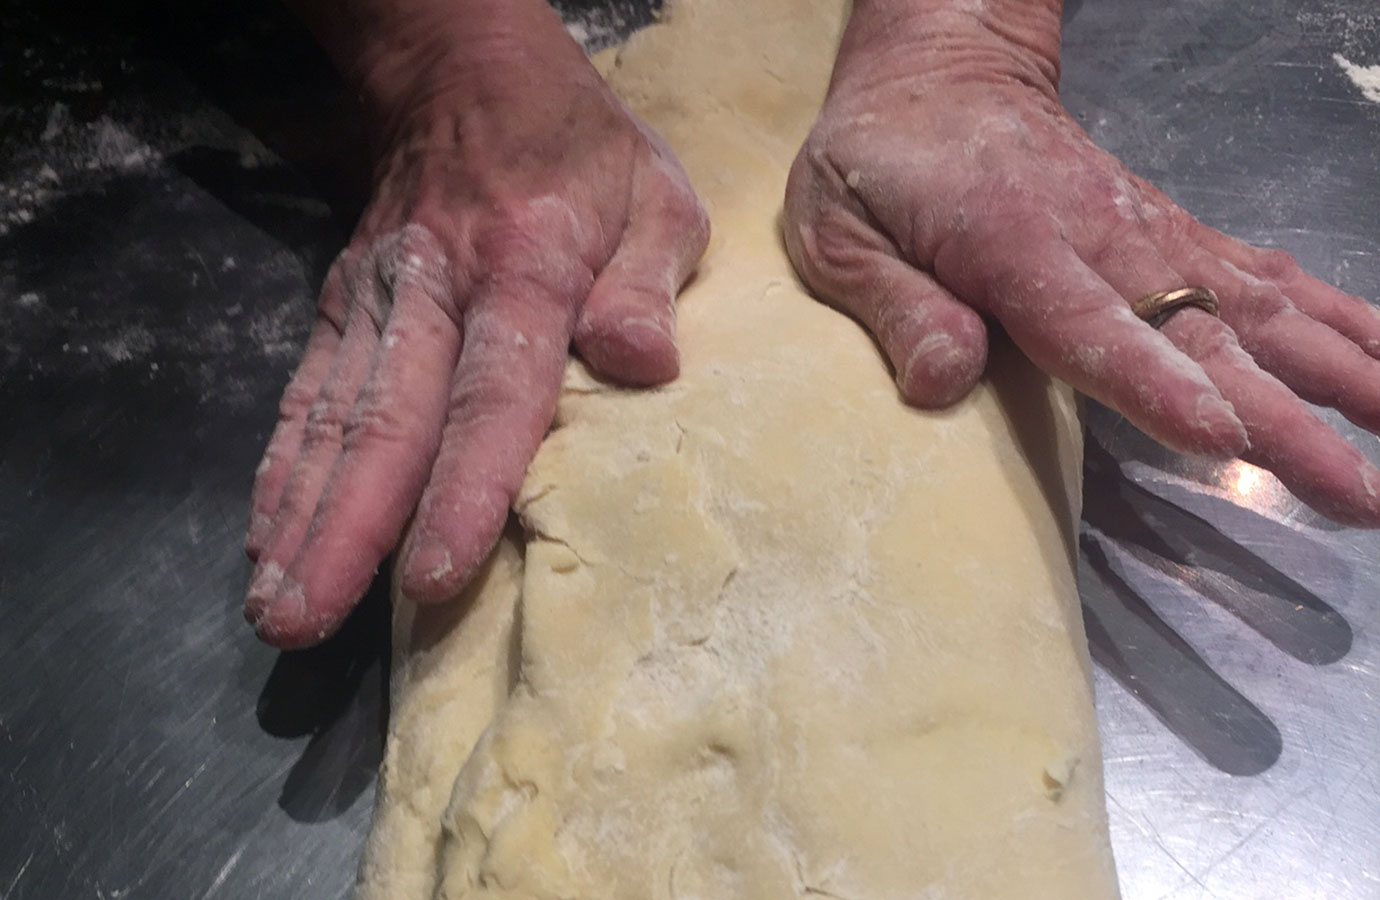
- Brush off excess flour from the surface of the dough and fold the it like a business letter before going into an envelope, rolling or pressing it flat again. Rotate dough 90 degrees, so that the closed side is now facing left.
- Repeat two more times, giving the dough another business letter-fold and rolling or pressing it flat again.
- Lightly dust all sides with flour, wrap loosely, and refrigerate for at least 6 hours or up to 2 days. The longer rest at this point will help develop the flavor of the bread.
Shaping the dough
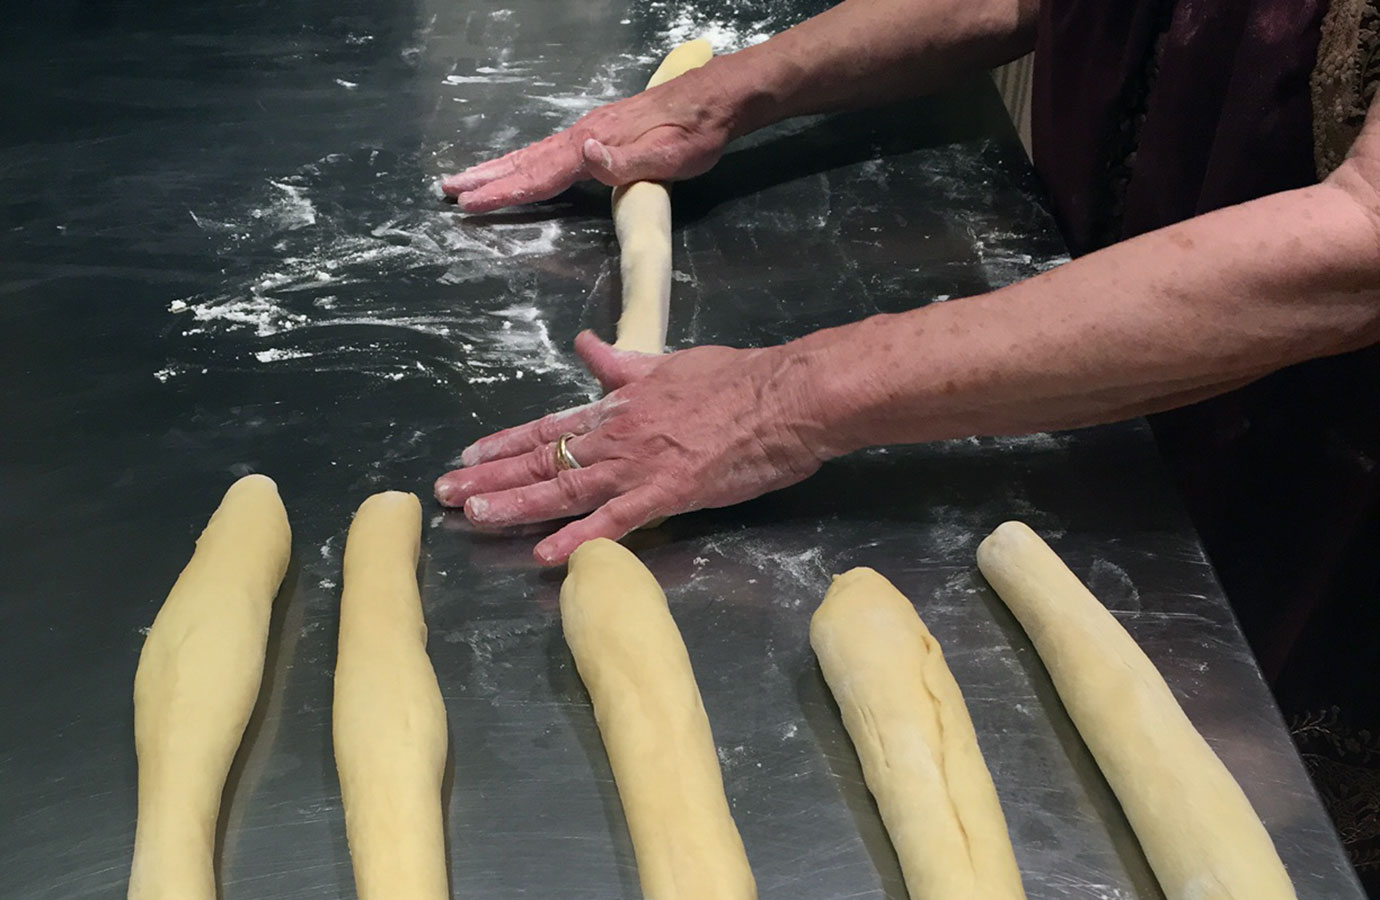
- Remove the dough from the refrigerator and divide into 6 equal pieces. Let the dough rest for 10 minutes.
- One at a time, roll each piece of dough under your palms into as long a rope as possible, pulling and stretching it to at least 15 or 16 inches in length. Taper the ends so they are narrower than the rest of the rope.
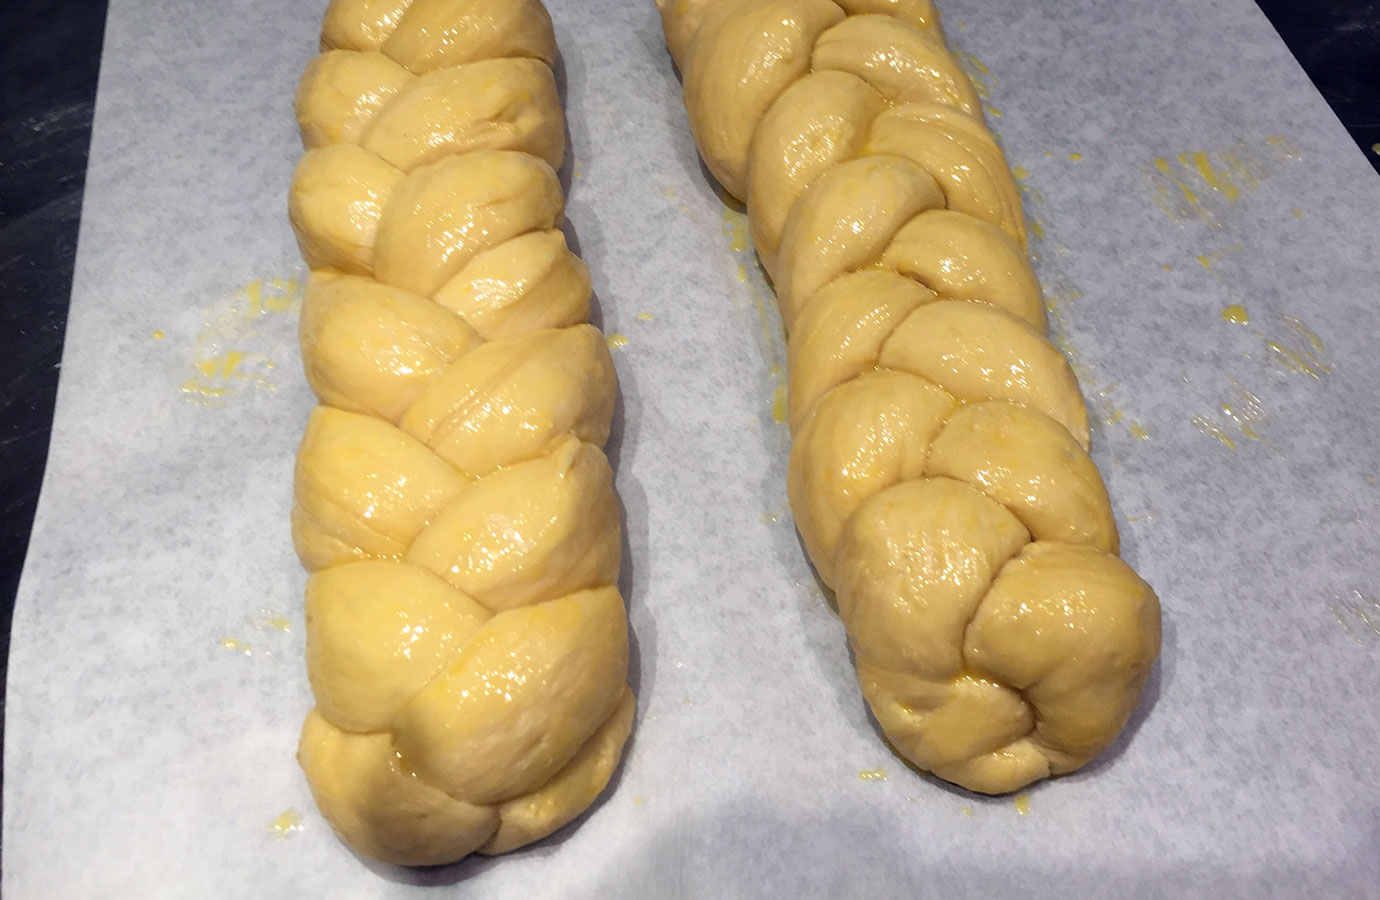
- Braid three ropes together at a time. Some bakers suggest starting from the middle and braiding out to each end to create a more symmetrical loaf. Moisten both ends with a little water, pinch the strands together and tuck the ends under. Push the ends in slightly to form a loaf that is a little wider in the middle. You can form 1 large loaf or 2 smaller ones.

- Line a baking sheet with parchment paper.
- Place the loaves on a large baking sheet, at least 2 inches apart.
- Preheat the oven to 350°.
- Lightly glaze the breads with the egg mixture. Let them rise, loosely covered with oiled plastic wrap, for about an hour, until doubled in bulk. They will be an inch longer, ½ inch wider and ¾ inch higher when ready to go in the oven.
- Glaze the breads again, making sure the egg mixture goes well into the crevices of the braid.
- Sprinkle with poppy seeds or sesame seeds if desired, and bake the loaves in a pre-heated oven, placing the baking sheet on top of a pizza stone if you have one.
- Bake for approximately 30-40 minutes, checking at around 20 minutes. If the challah is getting too dark, loosely tent the loaf with heavy-duty foil.
- The bread is done when it is a deep golden-brown color and a skewer inserted into the center comes out clean. (an instant read thermometer inserted into the center should read about 190°).
- Let the loaves cool completely before slicing.