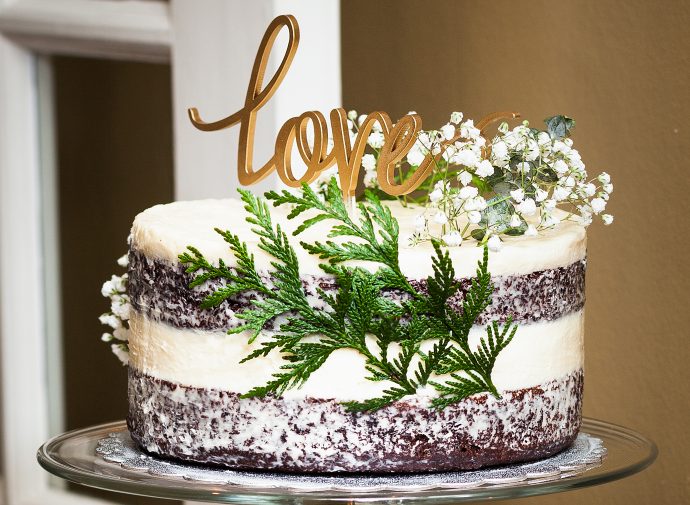
Iu-Luen Jeng, who has been featured previously in the Gazette, created Kim and Peter’s wedding cake. Instead of thickly coating the whole dessert in buttercream, she used a new style of decorating called the “naked cake”. The chocolate cake is covered in just enough frosting to make for a delicious forkful while not having the sweet buttercream overwhelm the dessert.
Iu-Luen was born on a small island, Mazu, off the coast of Taiwan. Her father, at the age of 24, apprenticed with a baker and eventually bought the business. He is still her go-to person for troubleshooting baking techniques and cooking tips.
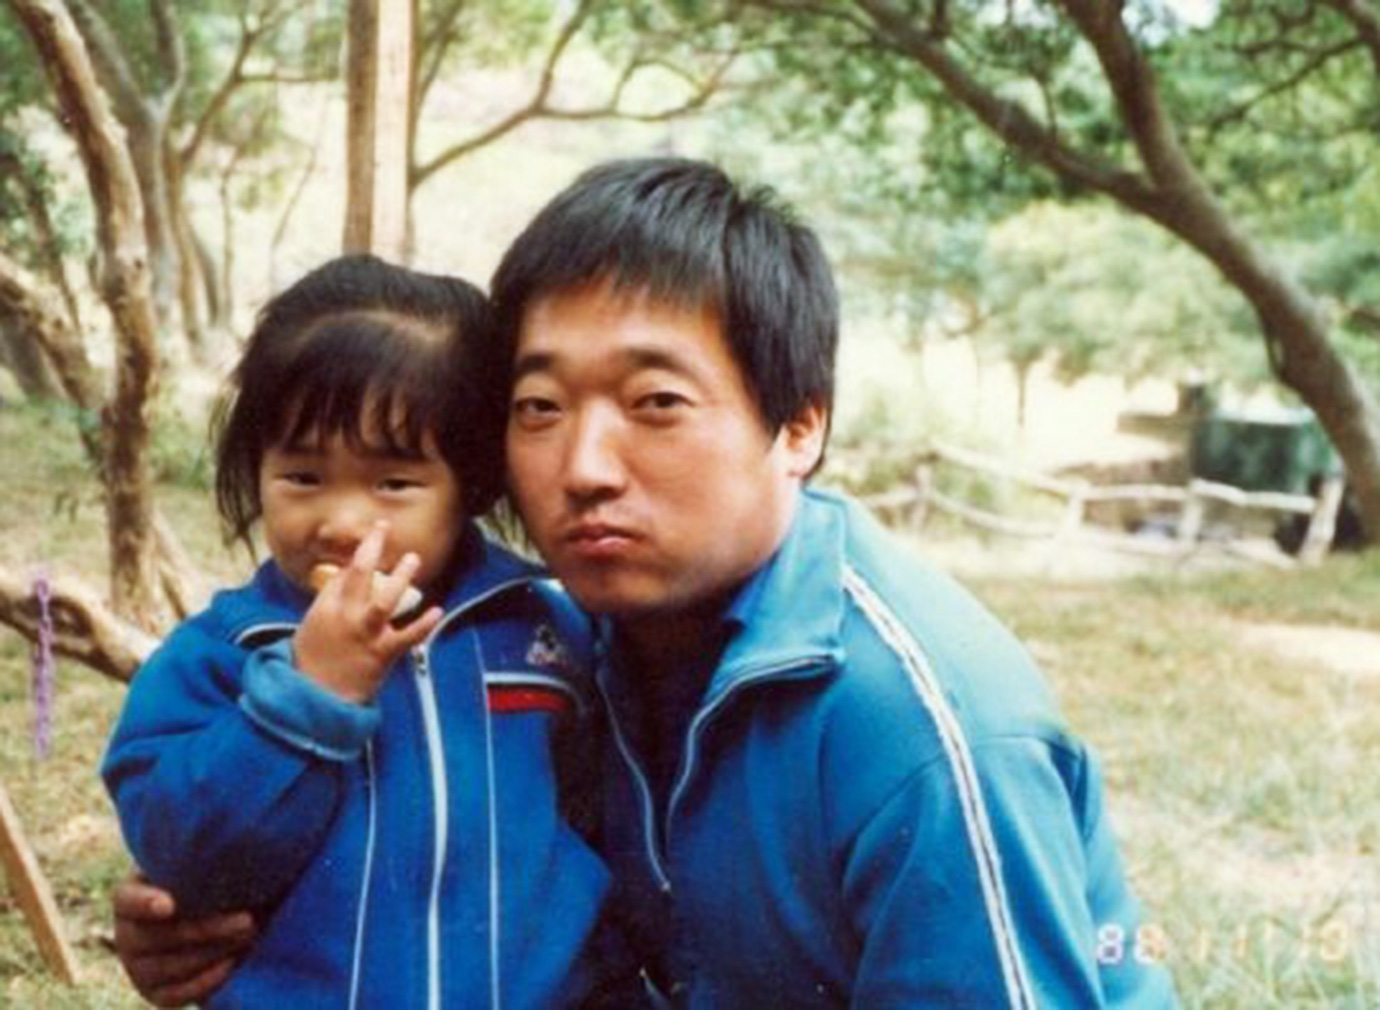
At first it seemed the bakery was an unwise choice as locals on our small island spent only on necessities and Western breads and cakes never fell into that category. Thankfully, the stationed military guys on Mazu found my dad’s baked goods comforting, fashionable, and they fed their nostalgia for big city life. Our family ate by feeding those lonely soldiers an escape from reality.
– Iu-Luen Jeng
Ingredients
1 cup of whisky-soaked cherries (pit removed)
2 cups all-purpose flour
2 cups sugar
3/4 cup unsweetened natural cocoa powder
2 teaspoons baking powder
1 1/2 teaspoons baking soda
1 teaspoon salt
1 teaspoon espresso powder
1 cup milk
1/2 cup canola oil
2 large eggs, at room temperature
2 teaspoons vanilla extract
1 cup boiling water
Chocolate Orange Ganache
1 cup of heavy cream
8 oz of semi-sweet chocolate chips
1 teaspoon orange extract
1 pack gelatin powder
Buttercream Icing
8 cups powdered sugar
2 cup unsalted butter at room temperature
4 teaspoons vanilla extract
2 tablespoons milk
Instructions
Whiskey Cherries
Prepare the cherries at least 3 days before baking:
Wash and dry the cherries. Use a cherry pitter to remove the pits neatly. Pack all the fruit in a dry and sanitized glass jar and pour your favorite whisky over the fruit. As long as the jar remains well sealed, the cherries will keep for up to 1 year in the refrigerator. Feel free to be creative about the pickling process; I’ve found that adding cinnamon sticks, a small amount of star anise, or whole cloves is quite tasty.
Chocolate Cake
Lightly grease two 8-inch cake pans and line the bottom with parchment paper.
Preheat the oven to 350 F
Boil the water and set aside.
Combine flour, sugar, cocoa powder, baking soda, baking powder, salt, and espresso powder on low speed in the bowl of a standing mixer.
Combine the milk, oil, eggs, and vanilla in a measuring cup. Turn the mixer to medium speed and pour the contents into the dry ingredients, mixing until well combined. Turn the mixer back to low and pour the measured hot water into the cake batter. Once the cake batter is well combined, its color will be lighter in color and have a thin consistency. This light batter creates a great, moist cake texture.
Divide the batter equally into the prepared cake tins and sprinkle the cherries over the top. Bake the cake on the middle rack for about 35 minutes. You can check your cake using a wooden skewer. It should come out clean when inserted into the center of the cake.
Let the cakes cool in the tins for 15 minutes before unmolding them. Let the layers cool completely on a rack before assembling the cake. You can use this cooling time to prepare your chocolate orange ganache.
Chocolate Orange Ganache
Warm the heavy cream over low heat on the stove. Once you see the small bubbles around the edge of the pot, take off the heat immediately. Add the gelatin powder to the cream and stir until dissolved.
Pour the warm cream into the chocolate chips and stir the pot until all the chips are melted. Add the orange extract and continue to stir the ganache. The ganache should have a shiny gloss once it is prepared.
Cool the ganache for 20 minutes
Buttercream Icing
Add powdered sugar, butter, vanilla, and milk to the bowl of a stand mixer. Start out slowly and then turn themixer to high speed until all ingredients are well-combined.
Cake Decoration
Set one cake layer on a turning decorating stand or platform. Using a wide, round decorating tip, pipe a circle of buttercream around the circumference on top of the cake. This circle will be the border to hold the chocolate ganache layer.
Pour the chocolate ganache on the cake within the buttercream border and let it set. If it is not setting at room temperature, feel free to place the cake in the fridge until the ganache sets.
Place the other cake layer on top of the ganache and pipe the buttercream on top. For the best appearance, the top layer of buttercream icing should be about the same thickness as the layer of ganache.
To decorate the sides of the cake in the “naked cake” style, coat the sides with minimal buttercream. You can do so by placing a thin layer of buttercream on the sides with an offset spatula. Hold a bench scraper with the edge flush against the side of the cake. If using a turning decorating stand, rotate the cake while keeping the bench scraper stable so as to scrape off as much buttercream as possible. If not using a turning stand, you can gently scrape off the excess frosting with the bench scraper in the same manner. Either way, be careful not to damage the cake layers. You want a very thin layer, so that the chocolate cake is visible under a thin veil of buttercream.
I love the look of this cake!!